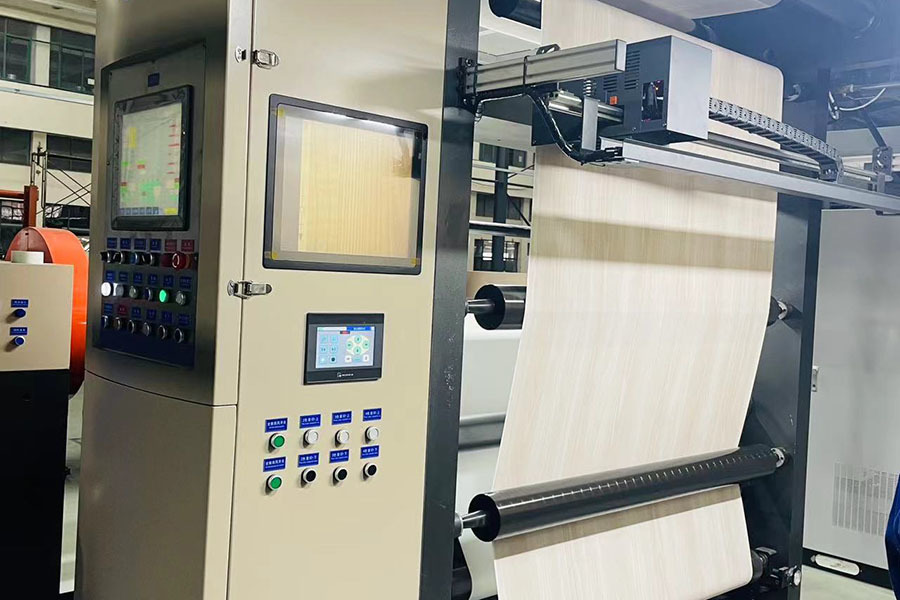
Operating Procedures for Electronic Axis Printing Machines
In order to standardize the operation of the electronic axis printing machine, prevent the occurrence of safety accidents and prevent the illegal operation from damaging the equipment, this safety operation management procedure is specially formulated. Then, let's take a look at the operation procedure of the electronic axis printing machine.
In order to standardize the operation of the electronic axis printing machine, prevent the occurrence of safety accidents and prevent the illegal operation from damaging the equipment, this safety operation management procedure is specially formulated. Then, let's take a look at the operation procedure of the electronic axis printing machine.
Electronic axis printing machine start and matters needing attention:
1. During the test run, check whether each part of the gear has lubricating oil.
2. Before commissioning, pay attention to check whether there are dirt or tiny hard objects on the rubber roller and anilox roller on the top of the printing machine, otherwise the expensive anilox roller will be scrapped as a whole, causing huge losses. Economic losses.
3. Before starting up, the ink roller and the anilox roller should be separated, so that the large hand wheel can be used to rotate the paper feed and pinch shaft to make the whole machine rotate. If there is an abnormal phenomenon of ineffective rotation, the large handwheel should be removed before the test machine.
4. Check and confirm that the motor speed control knob is in the zero position before turning on the power supply, set the switch on the controller to the position where it can be rotated, set the speed control switch from the zero position to the position where the machine can be started, and check at a low speed. Check whether the rotation direction of the main drum is correct, and then run it for 10-15 minutes according to the speed of the tachometer.
5. After stopping the machine, use the handwheel to rotate the paper feeding roller shaft again, put the printed cardboard under the roller, and adjust the gap between the platen roller and the printing roller to make it suitable for the thickness. The cardboard used (too tight will damage the cardboard, if it is too loose, the printing position will be inaccurate).
Adjustment of various parts of electronic axis printing machine
1. Adjustment of the printing part: There are three pressure rollers under the printing part of each color, which can be moved up and down by turning the square head screws respectively, and the gap between them and the large roller can be adjusted to adapt to the thickness of the printing cardboard, so that it can Normal paper feeding. Enter.
2. Font installation: The thickness of the font rubber used is 7mm. Font rubber plate must be good elasticity, uniform thickness. Use a flat rubber sheet.
3. Axial position adjustment (monochrome printing machine does not have this item): warp and weft lines are engraved on the printing plate cylinder, and the printing plate cylinder can pass through the square head adjustment bolt at the shaft end to loosen the tight nut. After the bolt is adjusted, tighten the tight nut.
4. Radial position adjustment: 1. two cylinders can be adjusted radially. When the radial position is inaccurate, open the cover door, loosen the four bolts on the large gear at the shaft end of the printing plate cylinder, and rotate the square head to adjust the gear shaft. After adjustment, the four square head bolts should be tightened in time.
5. Adjustment of ink roller: The printing rubber roller and anilox roller have been adjusted before leaving the factory. When in use, just turn the small handwheel to separate the printing rubber roller from the anilox roller and the anilox roller, and turn the small handwheel in the opposite direction to automatically restore the original working state.
Tag:
Blog
From the technical point of view of intaglio printing machine to buy intaglio printing machine


